Why Your Network Is the Foundation of a Smart Home
Smart devices are only as reliable as the network they run on. A bulb that won't respond, a thermostat that shows offline, or an automation that fires three minutes late - these frustrations usually trace back to network issues rather than the devices themselves. Before adding more gadgets, it pays to build a stable foundation.
If you're just beginning your connected home journey, the core concepts and first steps covered in our beginner's guide provide a helpful starting point. This article focuses on the network layer specifically - the part that makes everything else work.
Most home networks were designed for a handful of devices: a laptop, a phone, maybe a TV. Today's smart homes can easily have 20, 30, or more connected devices, each competing for bandwidth and radio frequency space. Getting the network right from the start avoids a cascade of small problems down the road.
Dual-Band or Tri-Band Wi-Fi Router
Provides separate 2.4 GHz and 5 GHz frequency bands so smart devices and high-bandwidth devices don't compete for the same signal.
Mesh Wi-Fi System
Extends consistent Wi-Fi coverage throughout larger homes, eliminating dead zones that cause smart devices to drop offline.
Network Scanner App
Lets you see every device connected to your network, useful for troubleshooting and confirming new devices connected correctly.
Ethernet Cable
Provides a wired connection from your modem to your router for maximum stability, and can hardwire stationary devices like smart TVs.
Before You Start: What You'll Need
Network setup doesn't require advanced technical knowledge, but you should have a few things in place before working through the steps below.
What you will need
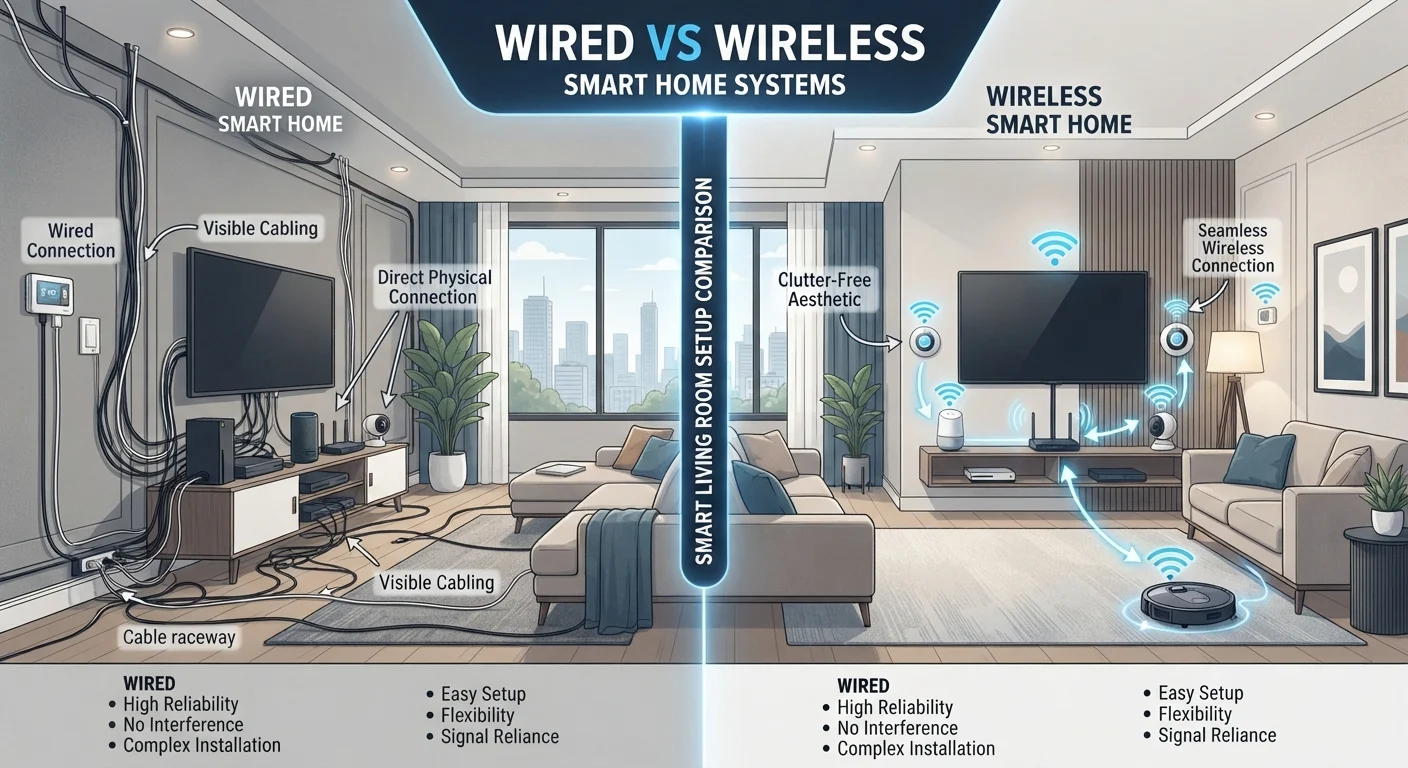
It also helps to understand whether the devices you're adding are wired or wireless - these two categories have different network requirements. The trade-offs between wired and wireless smart devices are worth understanding before you commit to a setup approach.
Secure Your Network Before Adding Devices
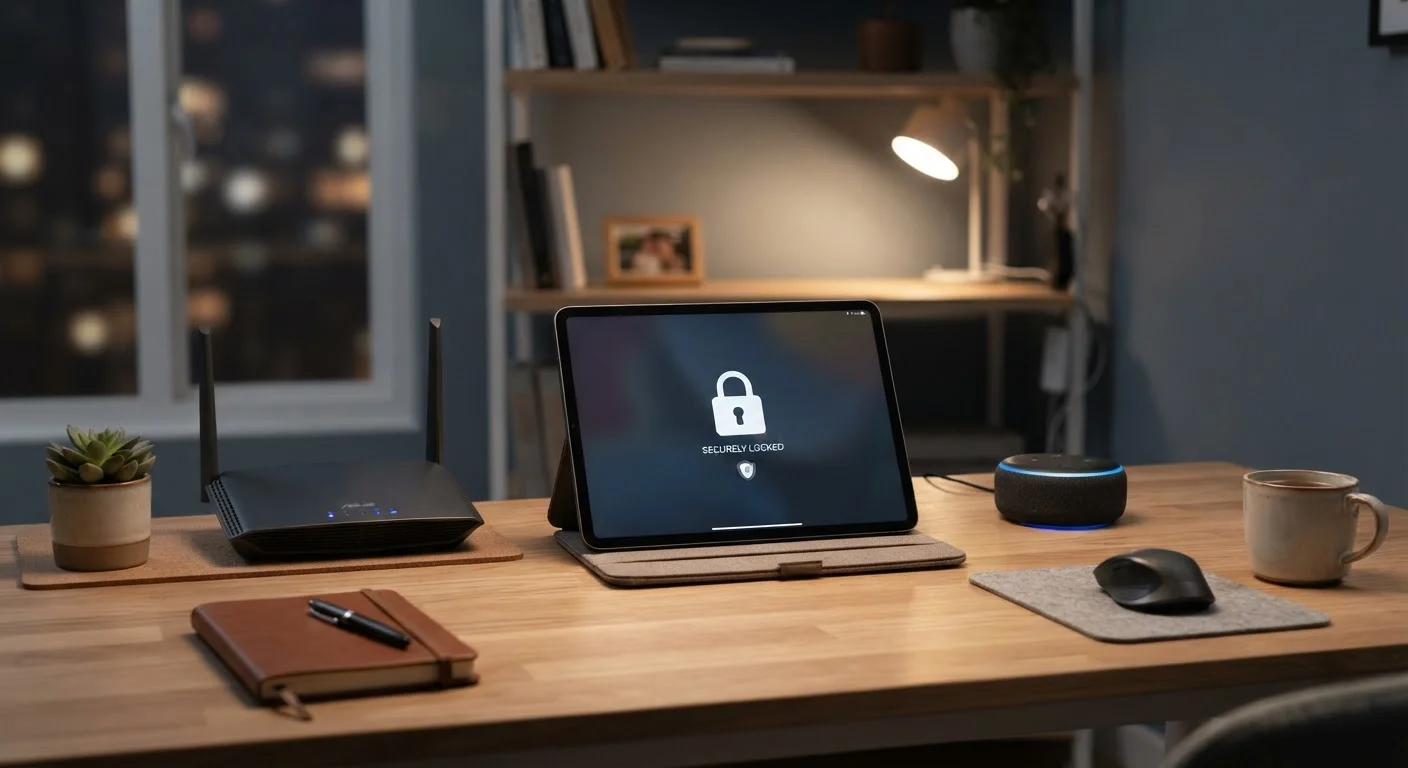
Every smart device you add is a potential entry point to your home network. Before connecting anything, change your router's default admin password and enable WPA3 or WPA2 encryption. Using the manufacturer's default credentials is one of the most common-and preventable-security mistakes homeowners make. See our guide to ongoing smart home security habits for what to do after setup.
Step-by-Step: Configuring Your Smart Home Network
Work through these steps in order. Each builds on the last, and skipping ahead - particularly past the security steps - can create problems that are harder to fix after devices are already connected.
Position your router for maximum coverage
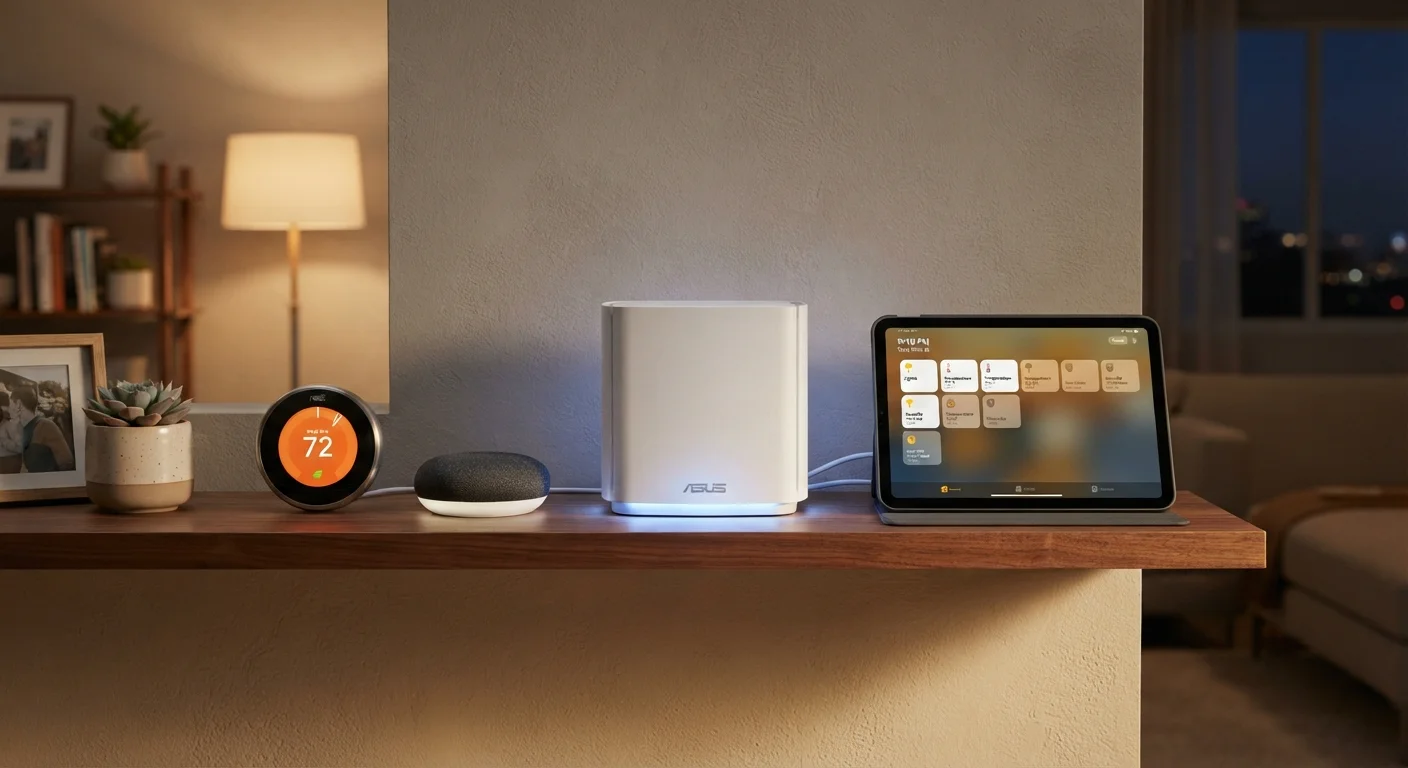
Place your router in a central, elevated location - ideally on a shelf or countertop near the middle of your home. Wi-Fi signals radiate outward in all directions, so a centrally placed router reduces the distance signals must travel to reach devices in different rooms. Avoid placing it inside cabinets, behind large appliances, or near thick concrete or brick walls, all of which degrade signal quality significantly.
Log into your router's admin panel and update firmware
Open a browser on a device connected to your network and type your router's admin address - commonly 192.168.1.1 or 192.168.0.1 - into the address bar. Log in with the credentials printed on your router. Once inside, navigate to the firmware or software update section and install any available updates. Firmware updates patch security vulnerabilities and often improve connection stability.
Create a dedicated network for smart home devices
Most modern routers allow you to create a guest network or a secondary SSID (the network name visible to devices). Set one up specifically for your smart home devices and give it a clear name you'll recognize, such as Home-SmartDevices. Keeping smart devices on their own network segment means that if a device is ever compromised, it's harder for an attacker to reach your laptops, phones, or personal data on the primary network.
Assign devices to the right frequency band
Connect bandwidth-intensive devices (streaming sticks, game consoles, smart displays) to the 5 GHz band for faster speeds over shorter distances. Assign lower-bandwidth smart home devices - plugs, sensors, bulbs, thermostats - to the 2.4 GHz band, which offers better range and wall penetration even if its top speed is lower. Many smart devices only support 2.4 GHz, so having both bands active and labeled separately avoids connection failures during setup.
Extend coverage with a mesh system or range extender if needed
If your home has multiple floors, thick walls, or rooms where smart devices drop connection frequently, a single router is unlikely to provide reliable coverage throughout. A mesh Wi-Fi system uses multiple nodes that communicate with each other to create one seamless network. Place secondary nodes roughly halfway between your main router and problem areas. Range extenders are a lower-cost alternative but can introduce latency and create separate network names that complicate device setup.
Test and verify all device connections
After connecting your smart devices, use a network scanner app or your router's connected-devices list to confirm every device appears as expected. Test each device's function - trigger a smart bulb, check a thermostat reading, or ask a smart speaker a question - to verify it's responsive. If a device shows as connected but isn't responding, try moving it closer to the router temporarily to rule out a signal issue before troubleshooting further.
Label Your Networks Clearly from the Start
Give your networks descriptive names before connecting your first device. Renaming a network later requires reconnecting every device already on it - a time-consuming process. A clear naming system (for example, separating 'Home-Main' from 'Home-Smart') also makes troubleshooting much faster when something goes wrong.
Once your network is configured and devices are connected, consider how automation routines fit into the picture. Our complete guide to smart home automation walks through building reliable routines without overcomplicating your setup.