Why Factory Settings Work Against You at Home
When a TV ships from the factory, its default picture settings are chosen to win attention in a competitive retail environment - not to accurately reproduce what directors, cinematographers, and content creators intended you to see. Showrooms are brightly lit spaces where the most saturated, high-contrast display draws the eye. Your living room is not a showroom.
The result is that many people watch content for months or years on a TV that is technically capable of excellent picture quality - but is running settings that make everything look artificially punchy and processed. Understanding a handful of key controls is all it takes to unlock what your screen actually can do.
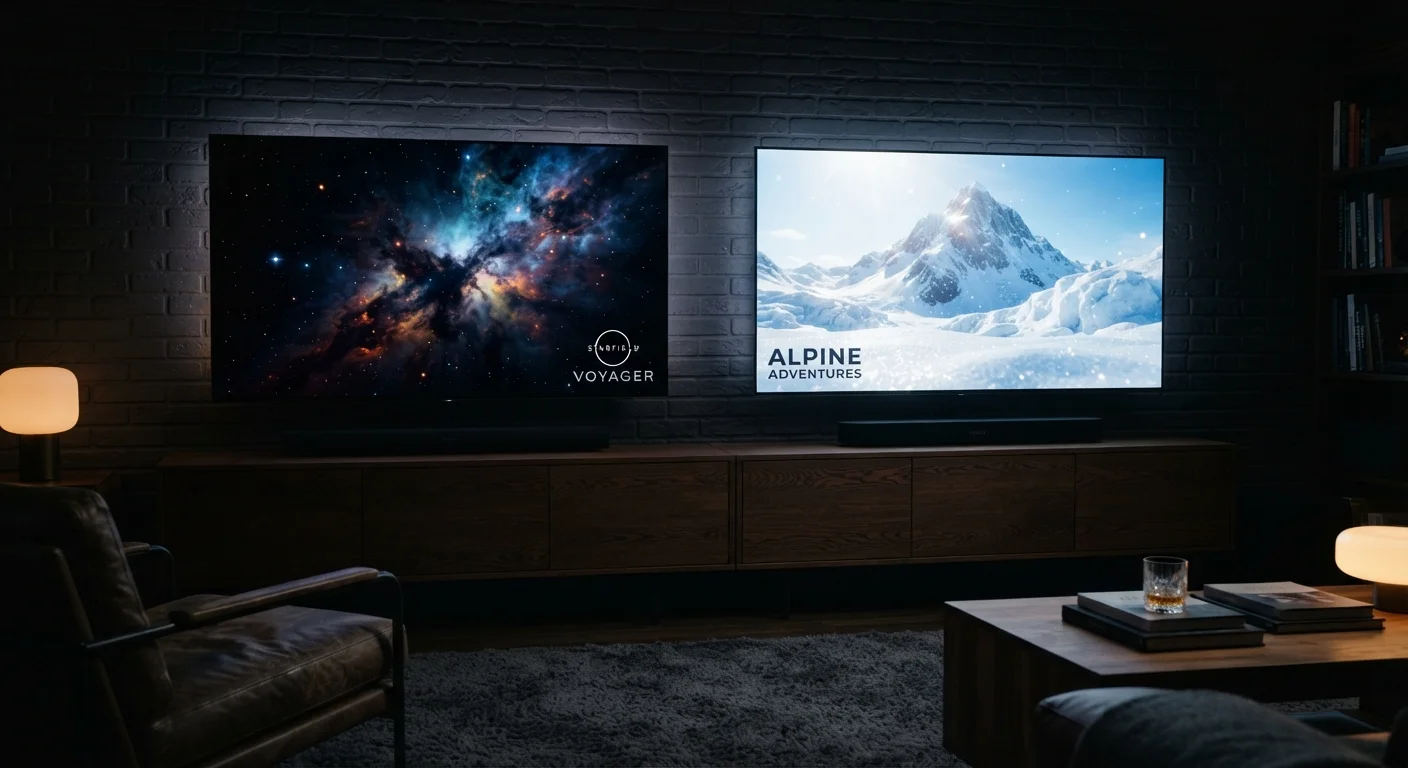
For context on how panel technology shapes what these settings can achieve, see our comparison of OLED vs. QLED display differences.
What you will need
What You'll Need Before You Start
No special equipment is required to make meaningful improvements to your picture. The adjustments covered here are accessible through your TV's standard settings menu and can be completed with the included remote in under an hour. Having the input you watch most often connected and active during setup will help you evaluate changes with familiar, representative content.
TV Remote Control
Navigating the picture settings menus on the television.
Calibration Test Patterns
Free online or app-based test images help visually confirm contrast, color, and sharpness adjustments are accurate.
Smartphone or Tablet
Useful for pulling up reference guides or test pattern apps while adjusting settings without switching TV inputs.
Step-by-Step: Calibrating Your Picture Settings
Work through these steps in order - each one builds on the last, and earlier settings affect how later ones look. Take your time with each adjustment and use real content rather than test patterns when possible.
Switch the picture mode from Vivid to Movie or Cinema
The first thing to change is the overall picture preset. Most TVs ship in Vivid or Dynamic mode - an extremely saturated, high-brightness setting designed to stand out under harsh store lighting. In a home environment, it looks overblown and unnatural.
Open your picture settings menu and select a mode labeled Movie, Cinema, or Filmmaker Mode (if available). These presets are calibrated closer to industry color standards and give you a much more accurate baseline to work from.
Lower the backlight to match your room
Backlight controls how much light the panel emits - it's different from brightness, which adjusts black levels. In a typical living room, the factory backlight setting is far too high and causes eye fatigue over time.
Reduce the backlight gradually while watching content you know well. A comfortable setting in a moderately lit room is often 40-60% of the maximum. In a dark room, go lower. The goal is a picture that doesn't feel like it's pushing light at you.
Set contrast and brightness for clean blacks and whites
Contrast controls how bright the brightest whites appear. Set it too high and bright scenes lose detail (called clipping). Set it too low and the image looks flat. Start by finding a scene with pure whites - a white shirt, a bright sky - and reduce contrast until you can see texture and detail within those highlights.
Brightness (black level) should be set so that the darkest parts of a scene are true black without looking gray, but not so low that shadow detail disappears entirely. A night scene is a good test: you should see depth, not a murky void.
Turn off motion smoothing (the 'soap opera effect')
Motion smoothing - sold under names like TruMotion, MotionFlow, Auto Motion Plus, or ClearMotion - is a processing feature that artificially inserts frames between real frames. The result is that movies and TV shows look unnaturally smooth, like they were shot on a consumer camcorder rather than a film camera.
Find this setting under picture options, motion settings, or advanced picture settings, and turn it off or set it to its minimum. This single change dramatically improves how films look and is universally recommended by videophiles and casual viewers alike.
Adjust color temperature toward Warm
Color temperature determines the overall tone of whites - whether they look cool blue or warm orange. Most TVs default to a cooler setting because it looks more striking on the showroom floor. In practice, a warmer setting (often labeled Warm 1, Warm 2, or simply Warm) is closer to the standard used by content creators.
Select the warmest option available and observe how skin tones and neutral objects look. If the image now appears too orange or red, move up one step. This setting interacts with your room lighting, so evaluate it under the conditions you normally watch TV.
Disable unnecessary processing features
Beyond motion smoothing, most TVs stack on several other processing layers - noise reduction, edge enhancement, sharpness boosting, and dynamic contrast adjustments. These sound helpful but typically degrade the source image rather than improving it.
In your picture or advanced settings, look for the following and turn them off or set to minimum: Noise Reduction, MPEG Noise Reduction, Edge Enhancement, and Dynamic Contrast. Leave Sharpness at or near zero - high sharpness adds an artificial halo effect around edges that looks unnatural on modern high-resolution content. Learn more about how resolution specs interact with these settings in our guide to 4K, 8K, and HDR.
Configure HDR settings if your TV supports it
If your TV is HDR-capable and you're watching HDR content, the picture settings you've dialed in for standard content may not apply - many TVs automatically switch to a separate HDR picture mode. Check whether your TV has distinct HDR presets and apply the same logic: select Movie or Cinema mode, reduce backlight to a comfortable level, and disable processing effects.
HDR is designed to expand brightness range and color volume, so a slightly higher backlight setting than your SDR profile can be appropriate. Avoid the temptation to push brightness to maximum - proper HDR performance comes from the panel rendering highlights accurately, not from blasting overall brightness.
Save Multiple Picture Presets
Most modern TVs allow you to save customized picture settings per input or per picture mode. Consider creating one profile for movies and scripted TV, and a separate one for sports or gaming. This way you're not re-adjusting settings every time you switch content types.
What to Expect After Calibration
After completing these adjustments, your TV should look noticeably less aggressive - colors more natural, motion more cinematic, and brightness more comfortable over long viewing sessions. Some people initially find the Movie or Cinema mode underwhelming compared to Vivid simply because they've adapted to the exaggerated look. Give it a week of normal viewing before reconsidering.
These settings affect picture processing, not the underlying signal quality. If your streaming content still looks soft or compressed, that's a separate issue - our article on why streaming picture quality falls short explains what's happening between the server and your screen.
Similarly, if you've ever wondered why motion looks different at 60Hz versus 120Hz, the answer is more nuanced than the spec sheet suggests - see our refresh rate explainer for context.
Avoid Resetting to Factory Defaults
If a firmware update or power cycle resets your picture settings, you may need to reapply your adjustments manually. Some TVs do not preserve custom picture settings across major firmware updates. It's worth noting your preferred settings values so you can restore them quickly if needed.